
Contents
Accessing the Case Study Editor
Authorised users from Registered Practices can add, edit or remove case studies using the online Case Study Editor.
First, log in to My LI.
From your LI Dashboard, click on the My Firm button. (If you don’t see the My Firm button, it means that you are not an authorised user for your Registered Practice.)

Go to the My Case Studies card and click the link to ‘View/edit my case studies’. 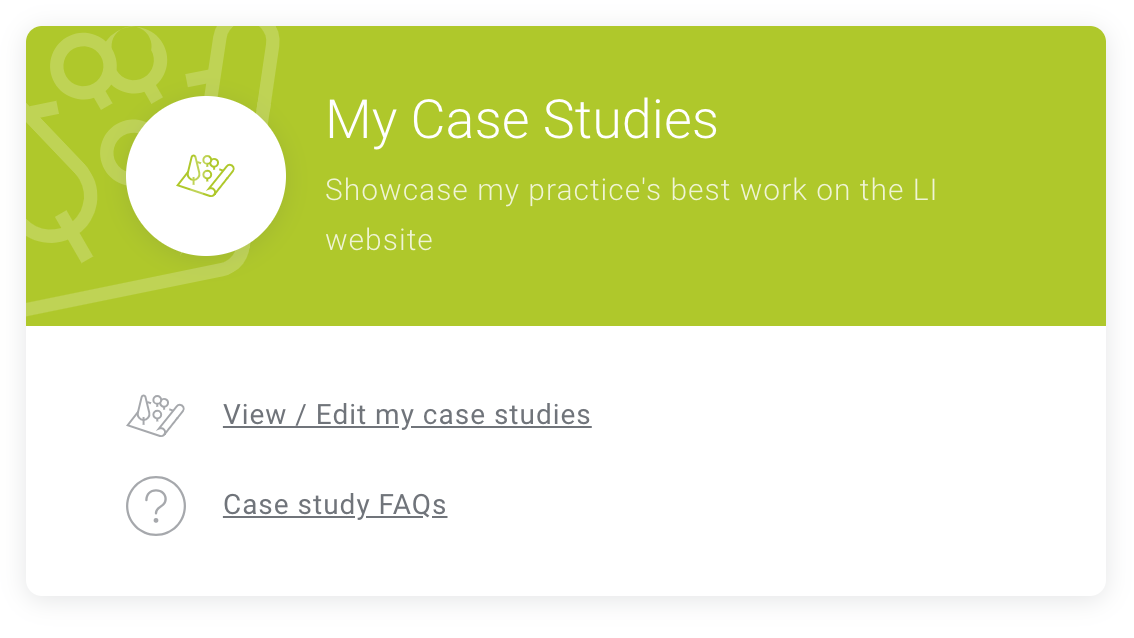 This opens up the Case Study summary screen (image below). You’ll see previews of all your current Case Studies, with options to view, edit, make draft or delete them, as well as an ‘Add Case Study’ button.

Viewing a case study
If your case study is live, the View Case Study button will be enabled. Clicking this will take you to the case study listing so you can see how it appears to anyone searching the Case Study Directory.
Adding a case study
To add a case study, click on the the green ‘Add a case study’ button. This will open a pop-up where you can give your case study a name
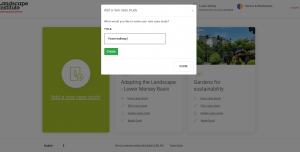
Press ‘Submit’ to save the name and open the Case Study Editor where you can add all the details for your case study.
Editing your case study
Click the ‘Edit case study’ option and you’ll be taken to the Case Study Editor where you can make your changes.
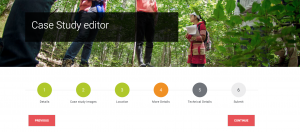
The case study editor is divided into 6 steps. Your changes are saved at each step.
You can see your progress by tracking the colour of the number icons:
- Green – saved successfully
- Orange – missing or incorrect information
- Dark grey – where you are now
- Light grey – still to do
Step 1 – Details
Add the basic details about your case study. All these fields are compulsory.
Step 2 – Images
Add up to 5 high-resolution images to illustrate the case study, and set one as a ‘featured image’.
Step 3 – Location
Help people find your case study in the Case Study Directory. Set a region to search for, provide a simple location description and locate your scheme on a map so that it shows up in map searches.
Step 4 – More details
Add more information about your case study. Some of these fields are compulsory – these fields will have a red outline until they are filled in.
Step 5 – Funding and technical details
Add more information about your case study. None of these fields are compulsory.
Step 6 – Submit
Accept the case study terms and conditions. If you select ‘yes’, your case study will be published and go live on the Case Study Directory. If you select ‘no’, your case study will be saved in draft form and will not be published.
Please refer to our Case study Editorial Guidelines for information about how to present your case study.
‘Make draft’ a case study
If you click on the ‘make draft‘ link for a case study, it will be unpublished from the Case Study Directory but you will be able to edit it and send it live anytime in the future.
Deleting a case study
You can entirely remove a case study from our library by clicking the Delete Case Study link for that case study.
This is a permanent process and cannot be reversed, so proceed with caution.
